Hey all!
I hope you all had a wonderful Valentines day! I did! My husband and daughter made me breakfast in bed! :)
So i got an idea to make a blanket for my husband as his valentines day gift from this blog.
Here is what theirs looks like:
And this is what mine turned out to look like:
Here is what you will need for this project :)\
- 4 Yards of fabric ( I used 2 yards of brown for the front and 2 yards of creme with brown polka dots for the back)
- Scrap Piece of pink fabric (or whatever color you want)
- 6 Ft of Bias Tape (or more depending on if you want yours bigger than this)
- Quilters batting
- Embroidery Floss and needle
- Sewing machine
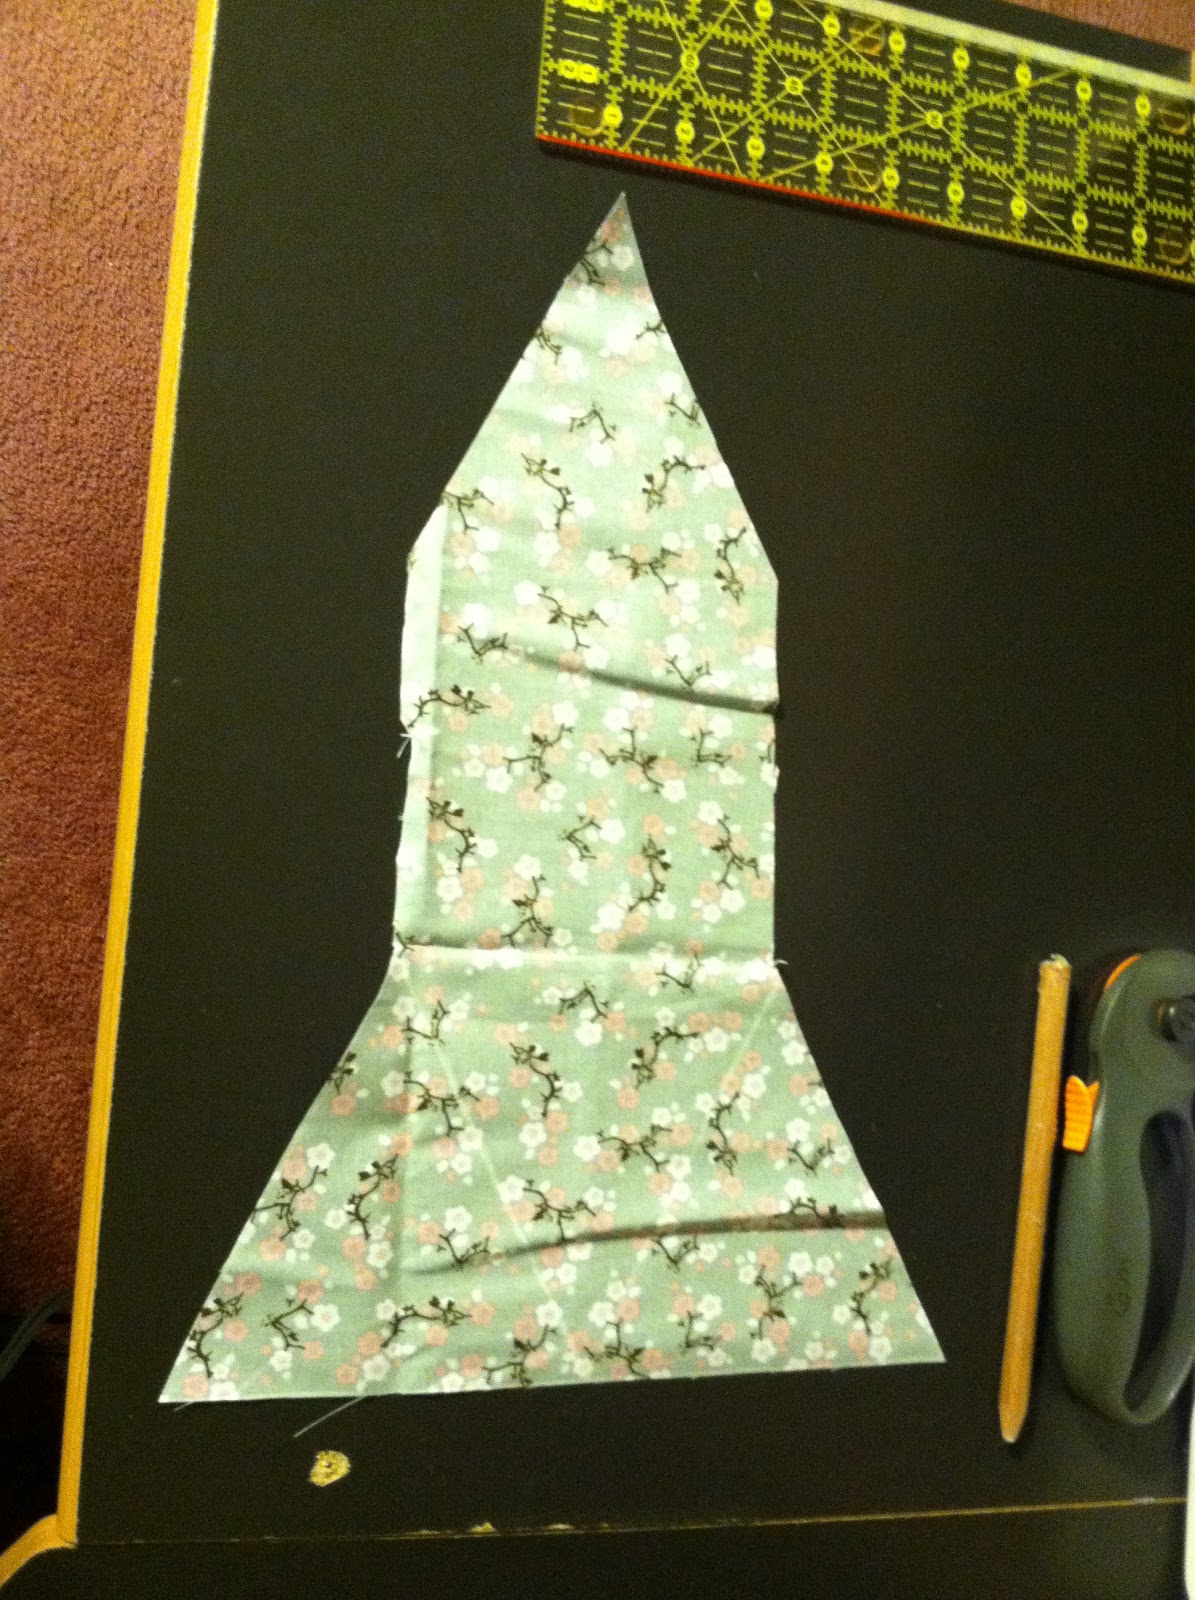
I had my sister in law help me with this while i was visiting her a few weeks ago. First you need to make sure you have your 2 yards of fabric for each size (I had the lady at Jo Ann Fabrics cut mine in the 2 yards when i purchased it). Then you need to cut out a heart in the front fabric, in my case the brown. We used a template and traced it and then cut out. Then what i did was hand embroider our intials on the pink fabric. After that i sewed the pink fabric behind the brown in the heart area.
Once you have done that then you need to put the quilters batting between the two pieces of fabric and pin it all together. After we were done with this we just started sewing wiggly lines up and down the blanket. You dont have to be perfect. Then finally the last step is to do the bias tape all the way around the blanket!
We had a lot of fun doing this and it was a really quick project! it only took us about 2 hours! :) Sorry i didnt take more pictures but this was a few weeks ago before i decided to start a blog.
Hope you all enjoyed this! Check out my sister in laws blog Little Oak Creations :) She has a ton of great things on her blog also!